Index
Welcome to the step-by-step guide on how to upload and start selling your digital products in your Esploras shop! The Esploras platform is designed to support creators in monetizing their talent, and adding digital products is a simple and fast process.
Digital products can vary widely: ebooks, guides, graphic templates, audio or video files, presets, software, and much more. This guide will show you the fundamental steps to get your digital creations online.
Here’s how to do it:
Step 1: Register as a Seller
To be able to add and sell products on Esploras, you must first be registered as a Seller on the platform. If you haven’t done this yet, please complete the Seller registration process.
Step 2: Access Your Dashboard
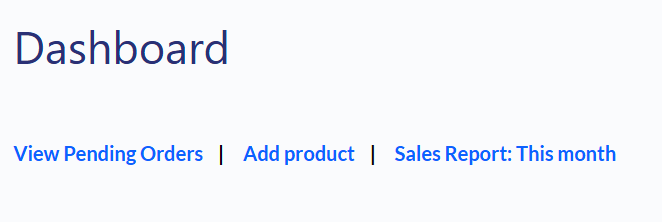
Once you are registered and have logged in to the Esploras website with your Seller account, you will be directed to (or can navigate to) your Dashboard. This is your main control area for managing your shop.
You will see a screen similar to this:
Click on the Add product link to begin adding your digital product.
Step 3: Upload Your Product Images
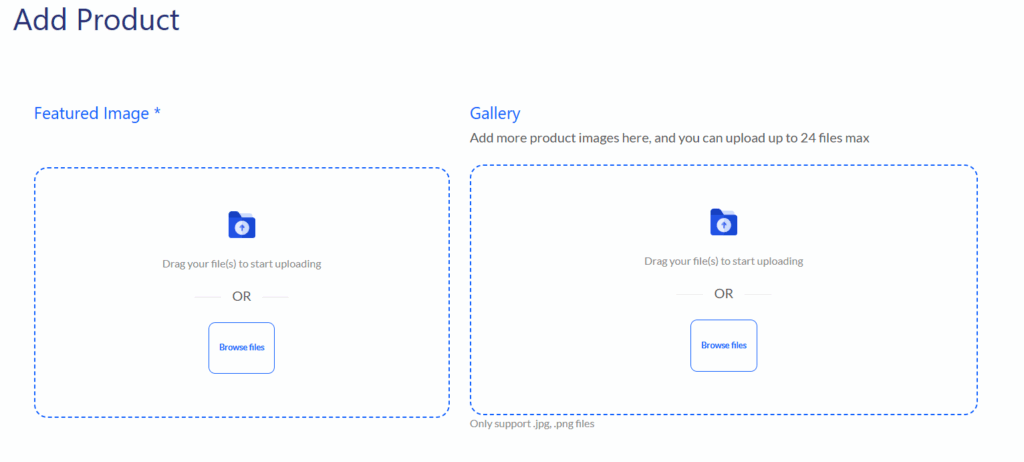
On the next screen, you will be asked to upload images for your digital product. It’s important to provide clear and attractive visual representations of your product, even if it’s digital.
The screen will look like this:
- Featured Image*: Upload the main image that will represent your product. This is usually the first image customers will see. Click on “Browse files” or drag and drop your file into the designated area.
- Gallery: Here you can add additional images to showcase different aspects of your digital product or create a gallery to present it effectively. You can upload up to 24 files. Click on “Browse files” or drag and drop your files into the designated area.
Note: Ensure your images are in .jpg, .jpeg, or .png format.
Step 4: Enter Product Details and Description
Next, you will need to provide the text information that describes your digital product. These details help customers understand what they are purchasing.
You will find fields as shown in this image:
- Product Name*: Enter the full and clear name of your digital product.
- Product Description: Here you can write a detailed description of your product. Explain what it includes, its benefits, who it’s for, and what problems it solves. Be persuasive and provide all relevant information.
- Product Short Description: Enter a more concise version of the description, useful for previews or quick views of the product.
- Category*: Select the most appropriate category for your product from the dropdown list. This helps customers find your product by Browse categories.
- Tags: Add relevant tags to your product. Tags are keywords that help customers find your product using the internal search function on the site. You can add multiple tags separated by commas or by pressing enter after each tag.

Step 5: Specify the Product Type as “Downloadable”
This is a crucial step for digital products. You need to indicate to the platform that this item is a downloadable file and not a physical product that requires shipping.
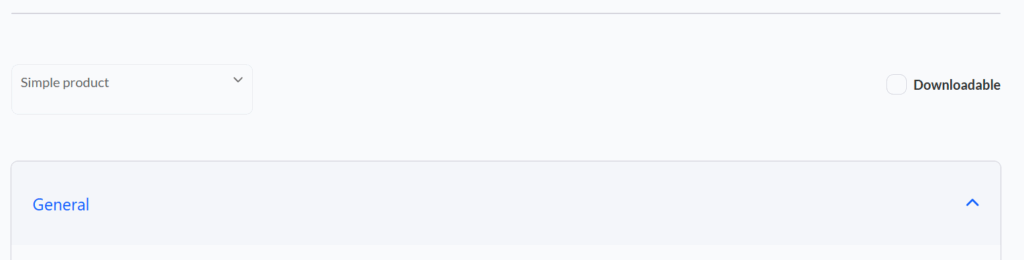
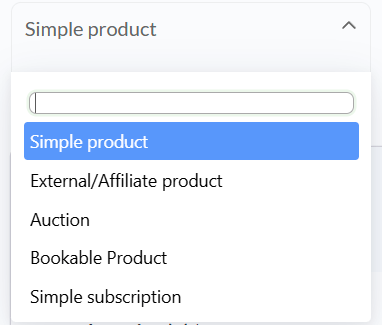
Find the section related to the product type. You should see a dropdown menu like this:
Ensure that “Simple product” is selected from this dropdown menu.
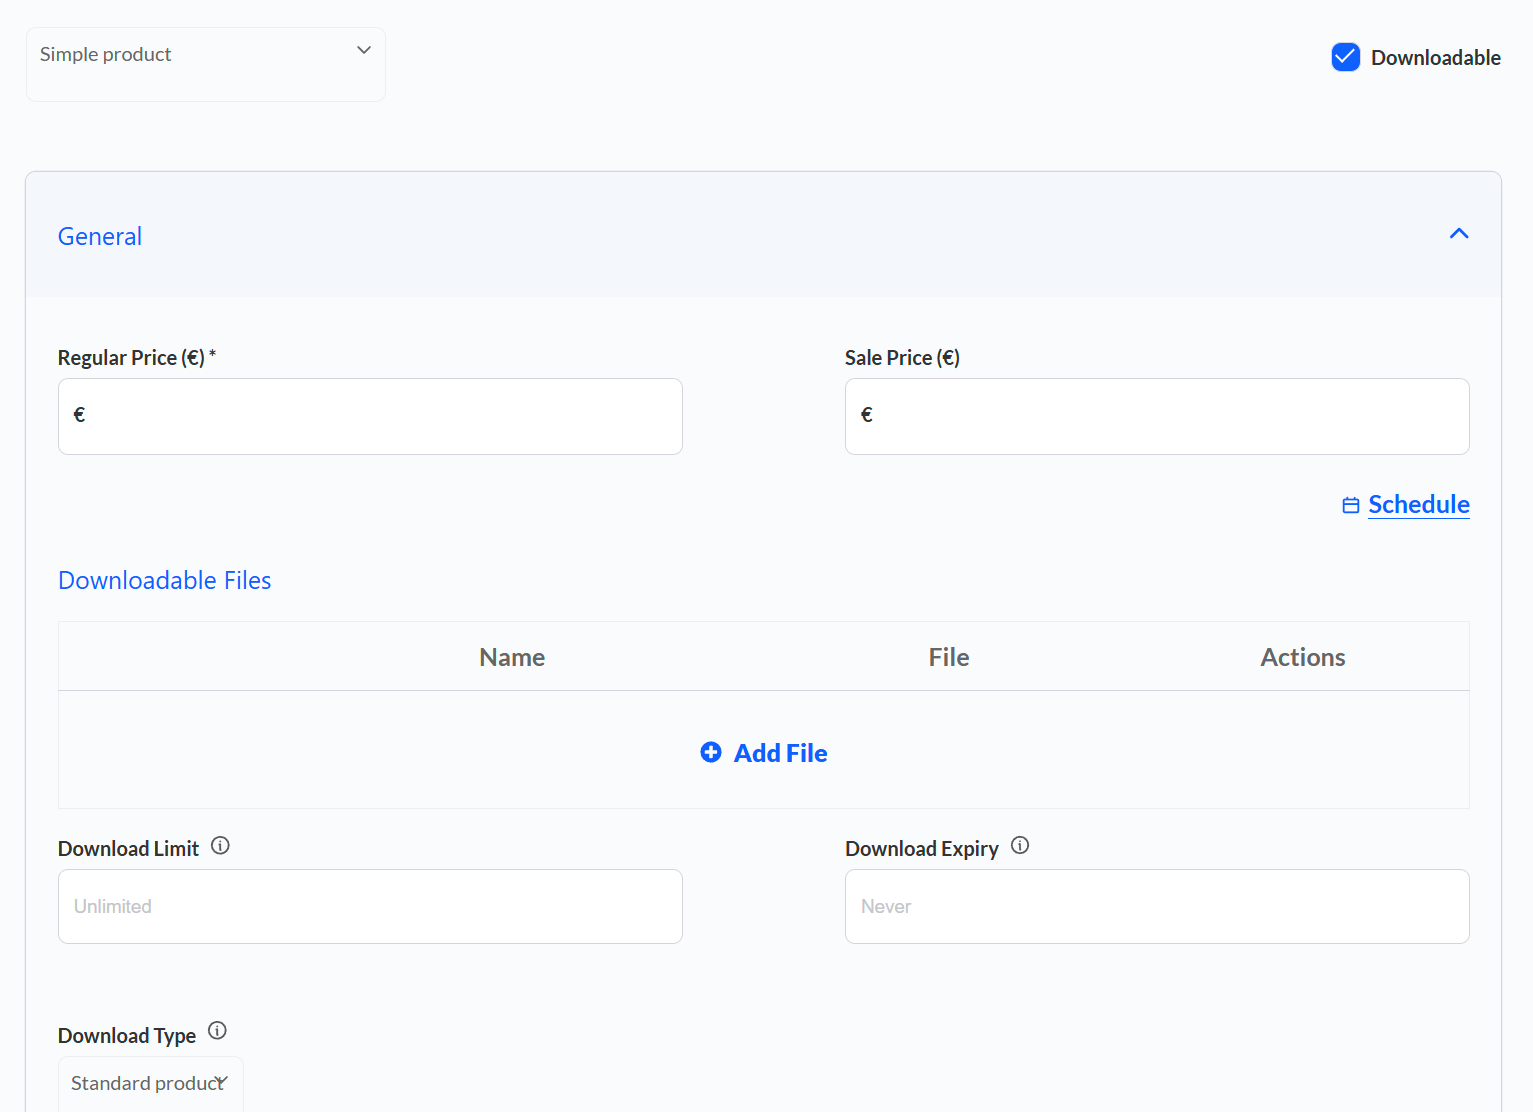
Right next to it, you should find the option to indicate that the product is downloadable:
Check the box next to “Downloadable“.
Step 6: Set Price and Upload the Downloadable File
After indicating that the product is downloadable, new options related to pricing and file upload will appear.
The section will look like the image below:
- Regular Price (€)*: Enter the standard price for your digital product.
- Sale Price (€): If you want to offer the product at a discounted price, enter the sale price here. You can also schedule when this special price will be active by clicking on “Schedule”.
- Downloadable Files: This is the most important section for digital products. Here you will upload the files that customers can download after purchase.
- Click on the + Add File button.
- An option will open to give the file a नाव (what the customer will see) and upload the actual File. Click on the upload area or drag and drop your digital file. You can add multiple files if your product includes several elements.
- Download Limit: Here you can set how many times a single buyer can download the file. “Unlimited” is the default option and often best for digital products, but you can enter a number if needed.
- Download Expiry: You can set an expiration date by which the customer must download the file. “Never” is the default and recommended setting for most digital products.
- Download Type: Usually set to “Standard product”, this refers to the general type of downloadable product. Based on your description, there might be other options like “Software Application”, “Music”, etc., available here depending on the category or other settings you’ve chosen. Select the most appropriate type if different options are presented.
Step 7: Inventory Management (Usually Not Necessary for Digital Products)
The “Inventory” section allows you to manage the stock of physical products, but for digital products, which are unlimited by nature, these settings are usually not needed.
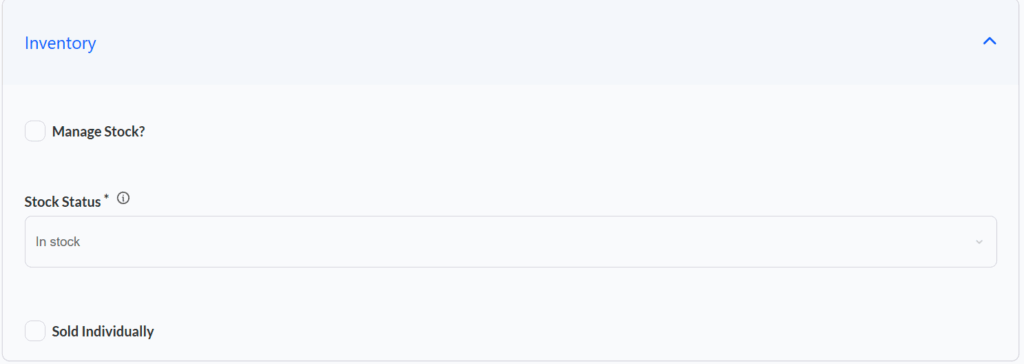
The section will appear like this:
- Manage Stock?: For most standard digital products, leave this box unchecked. Checking it would activate limited stock management, which is only useful if you are selling a defined number of unique copies of your digital product.
- Stock Status*: If you are not managing stock, this will automatically be “In stock”. If you were managing stock, you could change this based on availability.
- Sold Individually: By checking this box, you limit the purchase to only one copy per order. This can be useful for unique digital products or to prevent unintended multiple purchases in a single order.
Step 8: Advanced Settings (Optional)
Finally, there is an “Advanced” section that gives you a few additional options to customize your product listing management.
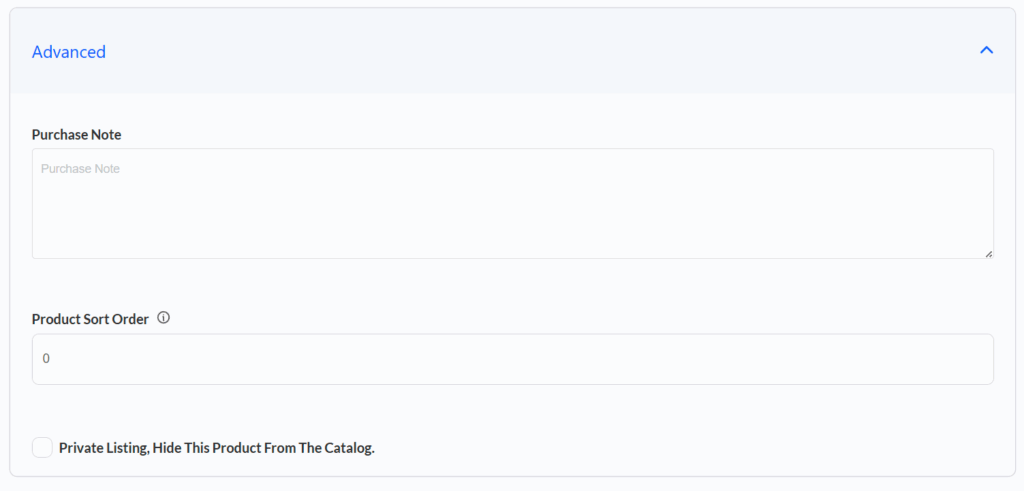
The section “Advanced” will look like this:
- Purchase Note: Here you can enter a message that the buyer will see after completing the purchase of this specific product. This can be a thank you, additional instructions for using the digital product, or any other useful information.
- Product Sort Order: This number affects the order in which products are displayed in your shop. A lower number will appear before a higher number. You can use this option to highlight certain products.
- Private Listing, Hide This Product From The Catalog.: If you check this box, the product will not be visible in the general catalog of your shop. It will still be accessible via a direct link, useful if you want to sell it only to a specific group of people or on a dedicated landing page outside your main shop.
Step 9: Save or Publish Your Product
Once you have entered all the necessary information, uploaded the file, and configured the desired options, you are ready to finalize the addition of your digital product.
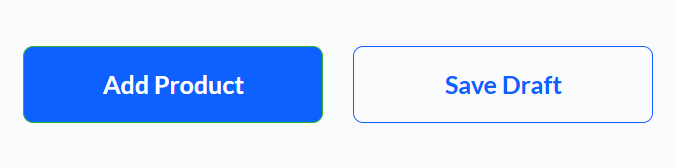
At the bottom of the page, you will find the buttons to save your changes:
- Add Product: Click this button to immediately publish your digital product in your Esploras shop and make it available for customers to purchase.
- Save Draft: If you are not ready to publish the product yet, you can click this button to save your work as a draft. You can return later to edit the draft and publish it when you are ready.